Bake Soft & Fluffy Yeast Bread: An Easy Guide for Beginners
Imagine the comforting aroma of freshly baked bread wafting through your home – a smell that instantly evokes warmth, nostalgia, and pure culinary joy. For many, the idea of baking yeast bread from scratch seems like a daunting task, best left to seasoned bakers. But what if we told you that crafting your own impossibly soft, beautifully risen loaf of homemade sandwich bread is not only achievable but surprisingly simple, even for the absolute beginner? Forget the bland, store-bought loaves and prepare to embark on a delightful journey into the world of baking with this foolproof
Master Soft, Fluffy Sandwich Bread: A Beginner's Easy Guide. We promise, once you experience the taste and texture of truly homemade, you'll never look back.
Why Homemade Sandwich Bread Reigns Supreme (and Why It's Easier Than You Think)
The decision to transition from store-bought to homemade bread isn't just about the incredible taste, though that's certainly a major factor. It's about taking control of what goes into your food. With a simple homemade sandwich bread recipe, you're using only real, recognizable ingredients – no preservatives, no questionable additives. This results in a cleaner, more wholesome product that you can feel good about feeding your family.
Many aspiring bakers shy away from yeast bread, intimidated by the idea of "killing the yeast" or wrestling with sticky dough. We’re here to tell you that yeast is your friend, a tiny living organism that simply needs the right conditions to thrive. This guide will demystify the process, providing clear visual cues and practical tips so you can confidently tackle your very first loaf. In fact, most of the 3-hour total time required for this bread is inactive – rising and baking – leaving you plenty of time to enjoy your day while your oven works its magic. The satisfaction of slicing into a warm, tender loaf you made yourself is unparalleled, transforming everyday meals into extraordinary experiences.
The Core Six: Essential Ingredients for Your Perfect Loaf
One of the beauties of this easy sandwich bread recipe is its minimal ingredient list. You likely have most, if not all, of these staples in your kitchen right now. Each plays a crucial role in creating that desired soft and fluffy texture.
- Milk + Water: The Liquid Foundation
A combination of milk and water is key to achieving that incredibly soft crumb and rich flavor. Milk, with its fat and lactose content, contributes to tenderness and helps the crust brown beautifully, while water provides essential hydration. The temperature of this liquid mixture is paramount for activating the yeast – aim for a warm bath-like temperature, between 105°F and 115°F (40-46°C). Too hot and you’ll kill the yeast; too cold and it won't activate properly. While you can substitute entirely with water or even almond milk for a dairy-free option, be aware that an all-water loaf might dry out a bit faster.
- Active Dry Yeast: The Magic Leavener
Yeast is what makes your bread rise, creating those delightful air pockets that give it its fluffy texture. This recipe works perfectly with active dry yeast, which typically needs to be "proofed" (activated) in warm liquid before being combined with other ingredients. If you have instant yeast on hand, you can use that too; it doesn't always require proofing, but be mindful not to over-proof the dough later in the process. We'll guide you on how to spot the visual cues for a perfectly risen dough.
- Honey (or Sugar): Yeast Food & Subtle Sweetness
Just a tablespoon of honey serves a dual purpose: it acts as a quick food source for the yeast, helping it activate, and adds a very subtle sweetness that enhances the bread's overall flavor. Granulated sugar can be used as a direct substitute if you prefer.
- Flour: The Structure Builder
You have flexibility here. Both bread flour and all-purpose flour work wonderfully for this recipe. Bread flour, with its higher protein content, develops more gluten, leading to a chewier, more structured loaf. All-purpose flour will yield a slightly softer, more tender result. Experiment to see which you prefer! For best results and consistency, consider using a kitchen scale to measure your flour; it's far more accurate than cup measurements.
- Salt: Essential for Flavor
Do not skip the salt! Beyond enhancing the overall flavor of your bread, salt plays an important role in controlling yeast activity and strengthening the gluten structure. Without it, your bread will taste flat and lack integrity.
- Butter: Richness and Tenderness
Melted butter enriches the dough, contributing to its incredible flavor and super-tender crumb. For a dairy-free version, simply substitute olive oil and ensure you're using a non-dairy milk alternative or water as your liquid.
From Proofing to Pillowy: Your Step-by-Step Baking Journey
Making yeast bread involves a series of simple steps, each building upon the last to create your perfect loaf. Don't rush them, and trust the process!
- Activating the Yeast (Proofing): Begin by gently heating your milk and water mixture to the ideal temperature range (105-115°F). Stir in the honey until dissolved, then sprinkle your active dry yeast over the top. Let this mixture rest for about 5-10 minutes. You’ll know your yeast is active and healthy when it becomes foamy and bubbly, resembling a creamy head on a beer. If nothing happens, your yeast might be old or your liquid temperature was off, and it's best to start again.
- Mixing and Kneading the Dough: In a large bowl or the bowl of a stand mixer, combine the flour and salt. Pour in your activated yeast mixture, then add the melted butter. If using a stand mixer with a dough hook, mix on low speed until combined, then increase to medium-low and knead for about 8 minutes. The dough should become smooth, elastic, and pull away cleanly from the sides of the bowl. If kneading by hand, mix the ingredients in a large bowl until a shaggy dough forms, then turn it out onto a lightly floured surface and knead for 10-15 minutes until it’s smooth and springs back when poked. A good test for readiness is the "windowpane test": stretch a small piece of dough thinly; if you can see light through it without it tearing, your gluten is well-developed.
- The First Rise (Bulk Fermentation): Lightly grease a clean bowl with oil, place your kneaded dough inside, and turn it once to coat. Cover the bowl tightly with plastic wrap or a clean kitchen towel. Find a warm, draft-free spot for your dough to rise. A slightly warm oven (turned off, with just the light on) is an excellent choice. Allow the dough to rise until it has doubled in size, typically 60-90 minutes, depending on the warmth of your environment. This stage develops flavor and strength in the dough.
- Shaping Your Loaf: Once doubled, gently punch down the dough to release the air. Turn it out onto a lightly floured surface. To achieve a uniform loaf, roll the dough into a rectangle, about the width of your loaf pan. Then, starting from one of the longer sides, tightly roll the dough into a log, pinching the seam closed at the bottom. Tuck the ends under slightly to create a neat shape. Place this seam-side down into a lightly greased 9x5-inch loaf pan.
- The Second Rise (Proofing in the Pan): Cover the loaf pan loosely with plastic wrap or a kitchen towel and return it to a warm, draft-free spot for its second rise. This usually takes 30-45 minutes. The dough should rise until it crowns about 1-2 inches above the rim of the pan and looks puffy. Be careful not to let it over-proof, or it might collapse in the oven.
- Baking to Golden Perfection: Preheat your oven to 375°F (190°C) while your bread is on its second rise. Once the oven is hot and the bread is perfectly proofed, bake for 30-35 minutes, or until the crust is golden brown and the internal temperature reaches 190-200°F (88-93°C) with an instant-read thermometer. If you don't have a thermometer, tap the bottom of the loaf; it should sound hollow.
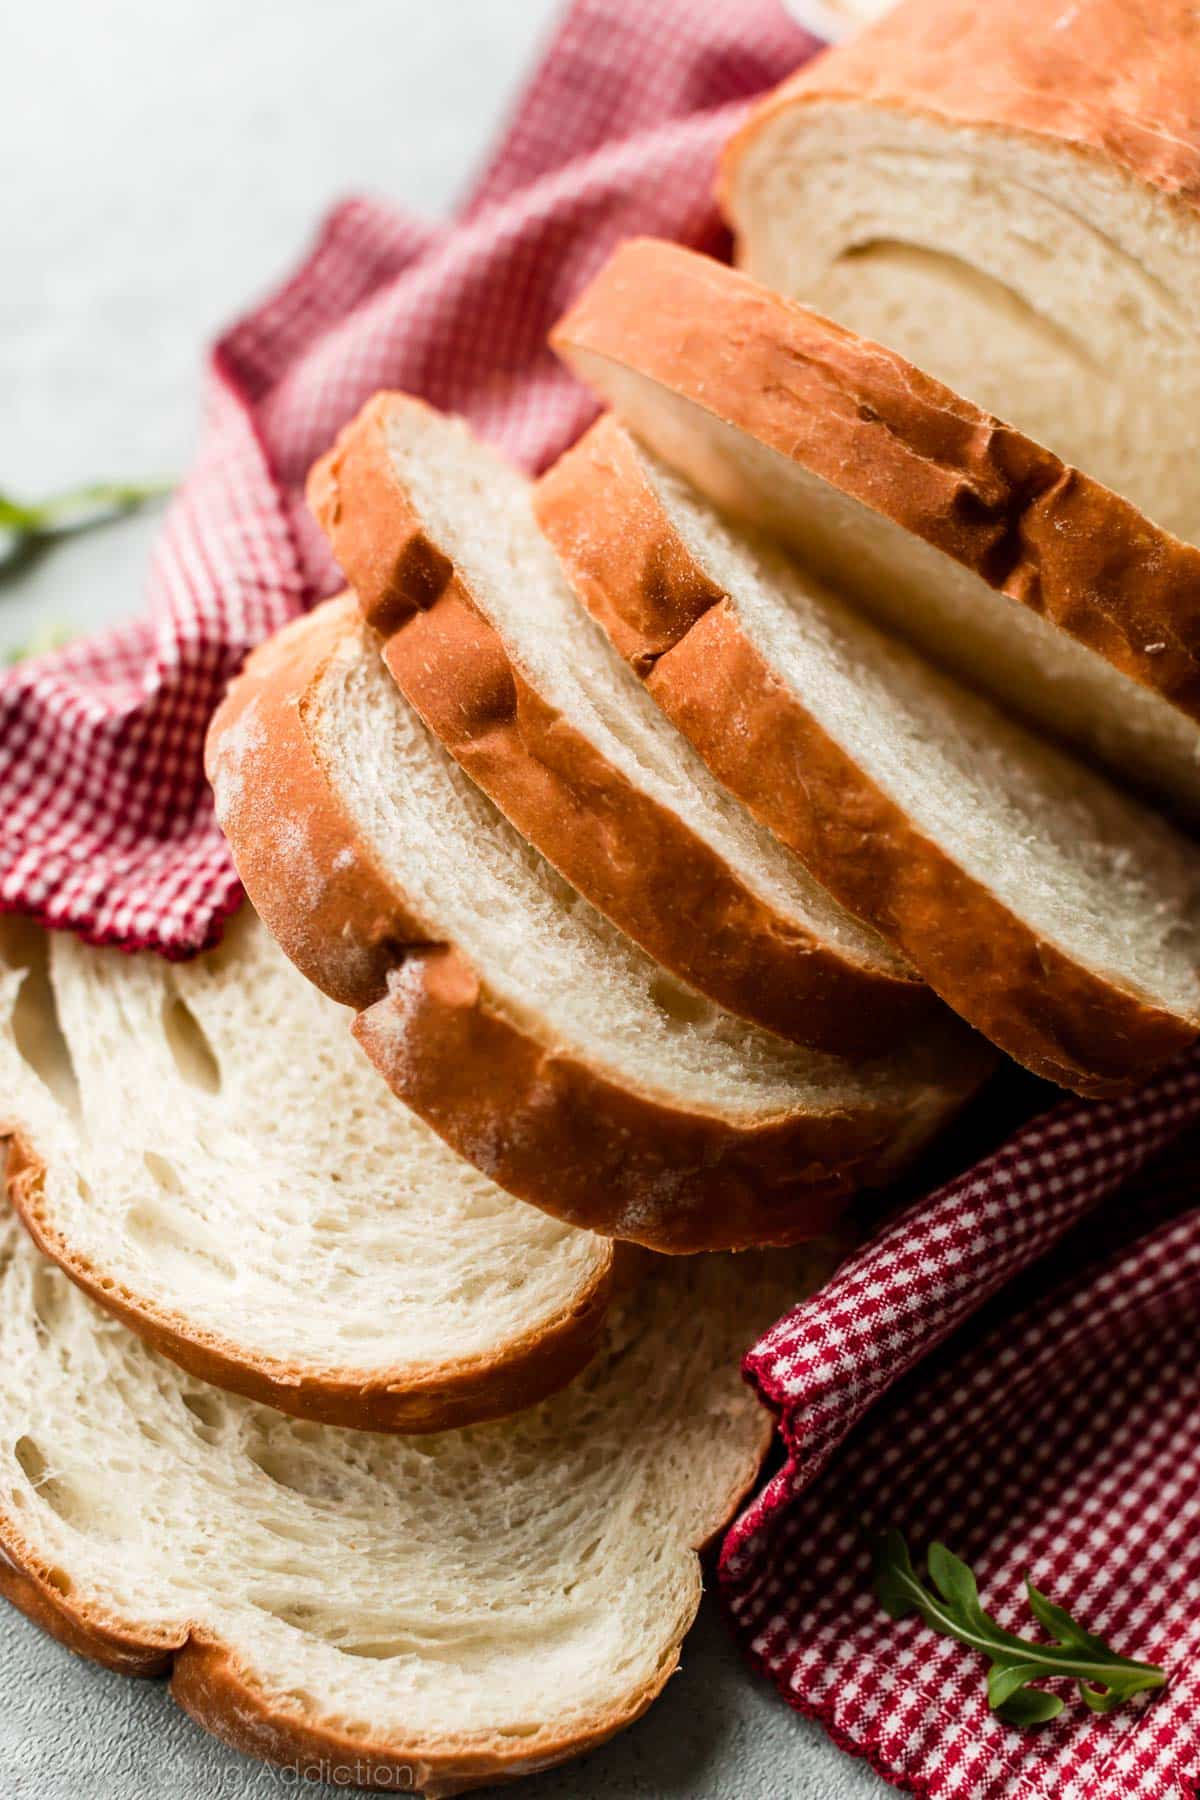
- Cooling is Crucial: Immediately remove the baked loaf from the pan and place it on a wire rack to cool completely. This step is vital! Cutting into hot bread traps steam, leading to a gummy texture. Patience will be rewarded with the softest, most perfect slices.
Beyond the Basics: Pro Tips for Beginner Bread Makers
*
Get a Thermometer: An inexpensive kitchen thermometer is your best friend for ensuring your liquid is the perfect temperature for yeast activation.
*
Measure by Weight: While cup measurements are provided, using a kitchen scale to measure flour (and sometimes water) offers far greater accuracy and consistency in your baking.
*
Create a Warm Environment: If your kitchen is cool, your dough will take longer to rise. Use a warming drawer, a proofer, or simply turn on your oven to its lowest setting for 5 minutes, turn it off, and let your dough rise inside with the door slightly ajar.
*
Don't Fear Sticky Dough: A slightly sticky dough often yields a more tender, moister bread. Resist the urge to add too much extra flour during kneading.
*
Storage Savvy: Once completely cool, store your homemade sandwich bread in an airtight container or bread bag at room temperature for up to 3-4 days. For longer storage, slice the loaf and freeze the individual slices. This allows you to pull out just what you need, whenever you need it!
Ready to Ditch Store-Bought for Good?
There you have it – your comprehensive guide to baking a truly soft and fluffy homemade yeast bread. This easy sandwich bread recipe is a game-changer, opening up a world of fresh, wholesome possibilities. From simple toast spread with butter or almond butter and sliced bananas, to classic PB&Js, hearty grilled cheese, or elegant chicken salad sandwiches, your homemade loaf will elevate every meal. Don't wait another day to experience the incredible satisfaction and deliciousness of bread from your own kitchen. For more inspiration and to start your baking journey, check out our related guides like
Ditch Store-Bought: Easy 6-Ingredient Homemade Sandwich Bread. Happy baking!