Ditch Store-Bought: Embrace the Simplicity of Easy 6-Ingredient Homemade Sandwich Bread
Imagine the aroma of freshly baked bread wafting through your kitchen, a scent that promises comfort, warmth, and wholesome goodness. Now, imagine that exquisite loaf is not only homemade but crafted with just six simple ingredients, many of which are likely staples in your pantry right now. This isn't a fantasy; it's the reality you can achieve with our incredibly easy sandwich bread recipe. Forget the mystery ingredients and preservatives found in store-bought loaves; it's time to rediscover the pure joy and superior taste of bread made from scratch.
For many, the idea of baking bread at home, especially a yeast bread, conjures images of complex techniques and lengthy processes. But we're here to debunk that myth. This particular sandwich bread recipe is designed with simplicity in mind, making it approachable even for first-time bakers. By the end, you'll have a beautifully risen, soft, and fluffy loaf that’s perfect for everything from classic peanut butter and jelly to gourmet grilled cheese. Get ready to transform your kitchen into a bakery and your sandwiches into culinary delights!
Why Homemade Sandwich Bread Reigns Supreme
Once you experience the difference, you'll wonder why you ever settled for anything less. Homemade sandwich bread recipe offers a multitude of benefits that truly set it apart:
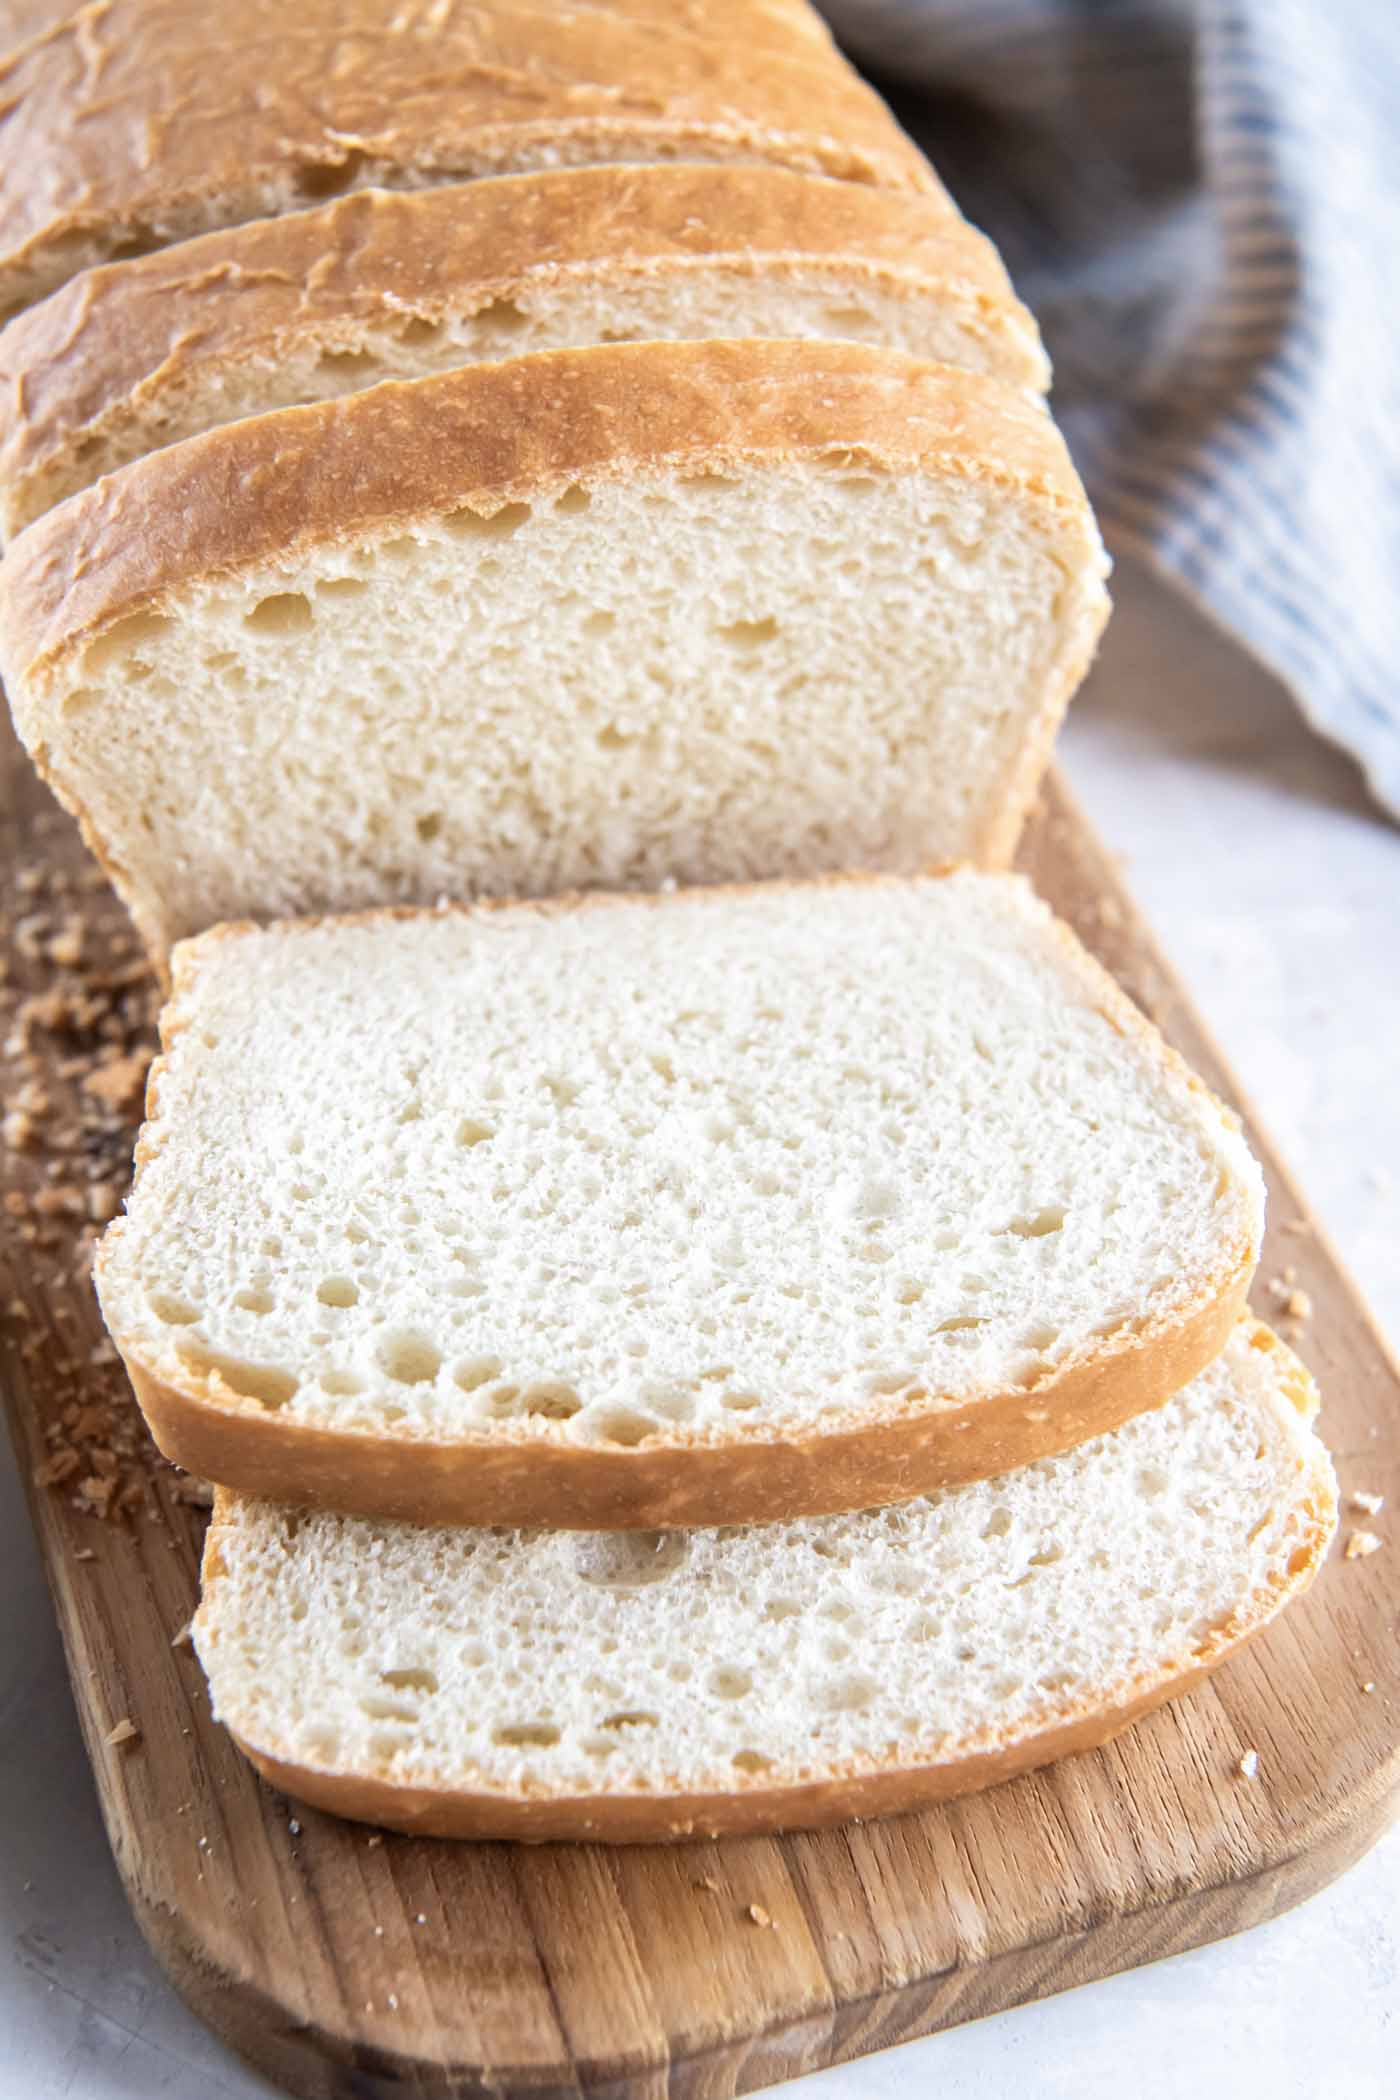
- Unbeatable Taste and Texture: There's simply no comparison to the nuanced flavor and tender, pillowy crumb of freshly baked bread. Store-bought varieties often lack the depth and satisfying texture that only real ingredients and a gentle baking process can provide. This recipe yields a loaf that's incredibly soft, easy to slice, and melts in your mouth.
- Control Over Ingredients: Wave goodbye to unpronounceable additives, high-fructose corn syrup, and excessive preservatives. When you bake at home, you know exactly what goes into your bread – just real, recognizable ingredients. This transparency is invaluable, especially for families conscious of what they consume.
- Cost-Effective: While the initial thought might be that baking is more expensive, the raw ingredients for this simple sandwich bread recipe are remarkably inexpensive. Over time, consistently baking your own bread can lead to significant savings compared to regularly purchasing loaves from the store.
- Incredible Aroma and Satisfaction: The process itself is therapeutic. The act of kneading dough and watching it rise, followed by the irresistible smell filling your home as it bakes, is an experience in itself. The sense of accomplishment that comes with pulling a golden, perfectly risen loaf from the oven is truly rewarding.
- Versatility: A good homemade sandwich bread isn't just for sandwiches. It's fantastic toasted with butter, perfect for French toast, makes amazing croutons, or can even be transformed into a comforting bread pudding.
The Core Six: Essential Ingredients for Your Sandwich Bread Recipe
The beauty of this sandwich bread recipe lies in its minimalist ingredient list. Just six fundamental components come together to create something truly magical. Here's a closer look at each, along with their roles and potential substitutions:
- Milk + Water: This dynamic liquid duo is key to achieving that signature soft and flavorful crumb. While water alone can work, the addition of milk contributes richness and helps the bread stay moist longer. The fat and protein in milk enrich the dough, leading to a more tender result.
- Substitution Insight: If you're out of milk, you can use all water, though your bread might dry out a bit faster. For a dairy-free option, unsweetened almond milk, oat milk, or soy milk work beautifully, with oat milk often imparting a lovely subtle sweetness and richness.
- Active Dry Yeast: The living organism responsible for making your bread rise! Yeast consumes sugars and produces carbon dioxide, creating the airy pockets that give bread its texture. It's essential to proof your yeast to ensure it's active before mixing it into the dough.
- Substitution Insight: This recipe is tested and works equally well with instant yeast. If using instant yeast, you might not need to proof it separately (though it's good practice to ensure it's alive), and be mindful not to over-proof the dough during its rises, as instant yeast is faster-acting. Always check the expiration date on your yeast; old yeast is often the culprit behind a flat loaf.
- Honey: Just a tablespoon of honey serves a dual purpose: it acts as food for the yeast, helping it activate and thrive, and it adds a very subtle, pleasant sweetness to the finished bread. This small amount won't make your bread overtly sweet but enhances its overall flavor profile.
- Substitution Insight: Granulated sugar is a perfect 1:1 substitute for honey. Brown sugar can also be used for a slightly deeper, molasses-like note.
- Flour: The structural backbone of your bread. This recipe is wonderfully versatile, allowing you to choose between all-purpose flour and bread flour.
- Substitution Insight: Bread flour, with its higher protein content, develops more gluten, resulting in a chewier, more structured loaf. All-purpose flour will still yield a fantastic, soft loaf, perhaps a tad less chewy but equally delicious. The most crucial tip for measuring flour is to spoon it into your measuring cup and then level it off with a straight edge; scooping directly can compact the flour, leading to too much and a dry dough.
- Salt: A non-negotiable ingredient! Salt isn't just for flavor; it plays a vital role in controlling yeast activity, strengthening the gluten structure, and enhancing the overall taste of your bread. Skipping it would result in a bland, potentially crumbly loaf.
- Insight: Use fine sea salt or table salt for even distribution.
- Butter: The secret to that rich flavor and tender crumb. Butter adds essential fat to the dough, contributing to its incredible softness and extending its shelf life.
- Substitution Insight: For a dairy-free loaf, substitute olive oil or another neutral-flavored oil for the butter. Ensure you also use a non-dairy milk alternative (or just water) for the liquid component. For easier incorporation, make sure your butter is softened to room temperature.
Mastering Your Homemade Sandwich Bread Recipe: Step-by-Step Guidance
Even though this is an easy recipe, understanding each step will build your confidence and ensure a perfect loaf every time. The process takes approximately 3 hours from start to finish, but much of that is inactive rising or baking time.
- Proof the Yeast: This is your first crucial step to ensure your yeast is alive and ready to work.
- Heat the milk and water until it reaches between 105 and 115°F (40-46°C). This temperature range is critical – too cold, and the yeast won't activate; too hot, and you'll kill it.
- Stir in the honey until dissolved, then sprinkle the active dry yeast over the liquid.
- Let the mixture rest for 5-10 minutes. You should see a foamy, bubbly layer form on the surface. This "proof" confirms your yeast is active! If it doesn't foam, your yeast might be dead, or your water temperature was off; start again with fresh yeast. For more detailed guidance on handling yeast, check out our guide on Bake Soft & Fluffy Yeast Bread: An Easy Guide for Beginners.
- Make the Dough:
- In a large mixing bowl (or the bowl of a stand mixer), combine the proofed yeast mixture with the flour, salt, and softened butter.
- If using a stand mixer with a dough hook, mix on low speed until combined, then increase to medium and knead for about 8 minutes. The dough should become smooth, elastic, and pull away from the sides of the bowl.
- If kneading by hand, mix the ingredients with a spoon until a shaggy dough forms. Turn it out onto a lightly floured surface and knead vigorously for 10-12 minutes until it's smooth and elastic. You'll know it's ready when it passes the "windowpane test" – you can stretch a small piece of dough thin enough to see light through it without tearing.
- First Rise (Bulk Fermentation):
- Lightly grease a clean bowl with oil. Place the dough in the bowl, turning once to coat.
- Cover the bowl with plastic wrap or a clean kitchen towel and place it in a warm, draft-free spot.
- Let it rise for 60-90 minutes, or until doubled in size. The exact time will depend on your room temperature.
- Shape the Loaf:
- Once the dough has doubled, gently punch it down to release the air.
- Turn the dough out onto a lightly floured surface. Gently shape it into a rectangle, then roll it up tightly into a log, pinching the seam closed. This shaping technique helps create a uniform loaf with a good structure.
- Place the shaped dough, seam-side down, into a lightly greased 9x5-inch loaf pan.
- Second Rise (Proofing):
- Cover the loaf pan loosely with plastic wrap or a clean towel.
- Let it rise again in a warm, draft-free spot for 45-60 minutes, or until the dough has risen about 1 inch above the rim of the pan. Be careful not to over-proof, which can lead to a collapsed loaf.
- Bake the Bread:
- Preheat your oven to 375°F (190°C).
- Bake for 30-35 minutes, or until the top is golden brown and the internal temperature reaches 200-210°F (93-99°C) when measured with an instant-read thermometer.
- If the top starts browning too quickly, you can loosely tent it with foil.
- Cool Completely:
- This step is often overlooked but is absolutely essential!
- Immediately remove the loaf from the pan and place it on a wire rack to cool completely before slicing, typically 1-2 hours. Slicing hot bread can result in a gummy texture.
Troubleshooting and Tips for a Perfect Loaf Every Time
- Dough Not Rising: The most common culprits are inactive yeast (check the expiration date, ensure water temperature is correct) or too cold a rising environment. Try placing your dough in a slightly warmed oven (turned off!) with a pan of hot water for a humid, warm spot.
- Dense Bread: This can happen if the dough wasn't kneaded enough (gluten didn't develop properly), if it was over-proofed (yeast ran out of energy), or if too much flour was added.
- Dry Bread: Ensure accurate measurement of liquids and fats. Over-baking can also dry out your loaf, so use a thermometer for precise doneness.
- Storage Tips: Once completely cooled, homemade bread is best stored at room temperature in an airtight bag or container for 3-4 days. For longer storage, slice the cooled loaf and freeze the slices in an airtight bag for up to 3 months. You can then pull out slices as needed for toast or sandwiches. For more in-depth advice on storing and preserving your bread, see our article Master Soft, Fluffy Sandwich Bread: A Beginner's Easy Guide.
Conclusion
Baking your own sandwich bread from scratch is not just about making food; it's about nurturing a skill, embracing wholesome ingredients, and savoring the simple pleasures of life. This easy 6-ingredient sandwich bread recipe demystifies the process, making it accessible and enjoyable for everyone. The unparalleled taste, superior texture, and peace of mind from knowing exactly what's in your bread will quickly make this a beloved kitchen ritual. So, take the leap, ditch the store-bought, and prepare to be amazed by the delicious, fluffy, and incredibly satisfying homemade sandwich bread you can create!
